What Are the Downsides of Mulching? 6 Problems to Avoid
Mulch usually fails for a simple reason: it has been treated as a permanent blanket instead of a seasonal tool. Six problems account for most disappointing results, and three application errors sit behind them: the layer is too deep, it touches living stems, or it stays in place after conditions have changed.
Correct those three points first. Pull mulch away from trunks and crowns, thin any layer that stays wet or sheds water, and clear seed rows when cold soil is delaying germination. The material itself matters, but placement and timing usually decide whether mulch protects the soil or quietly works against it.
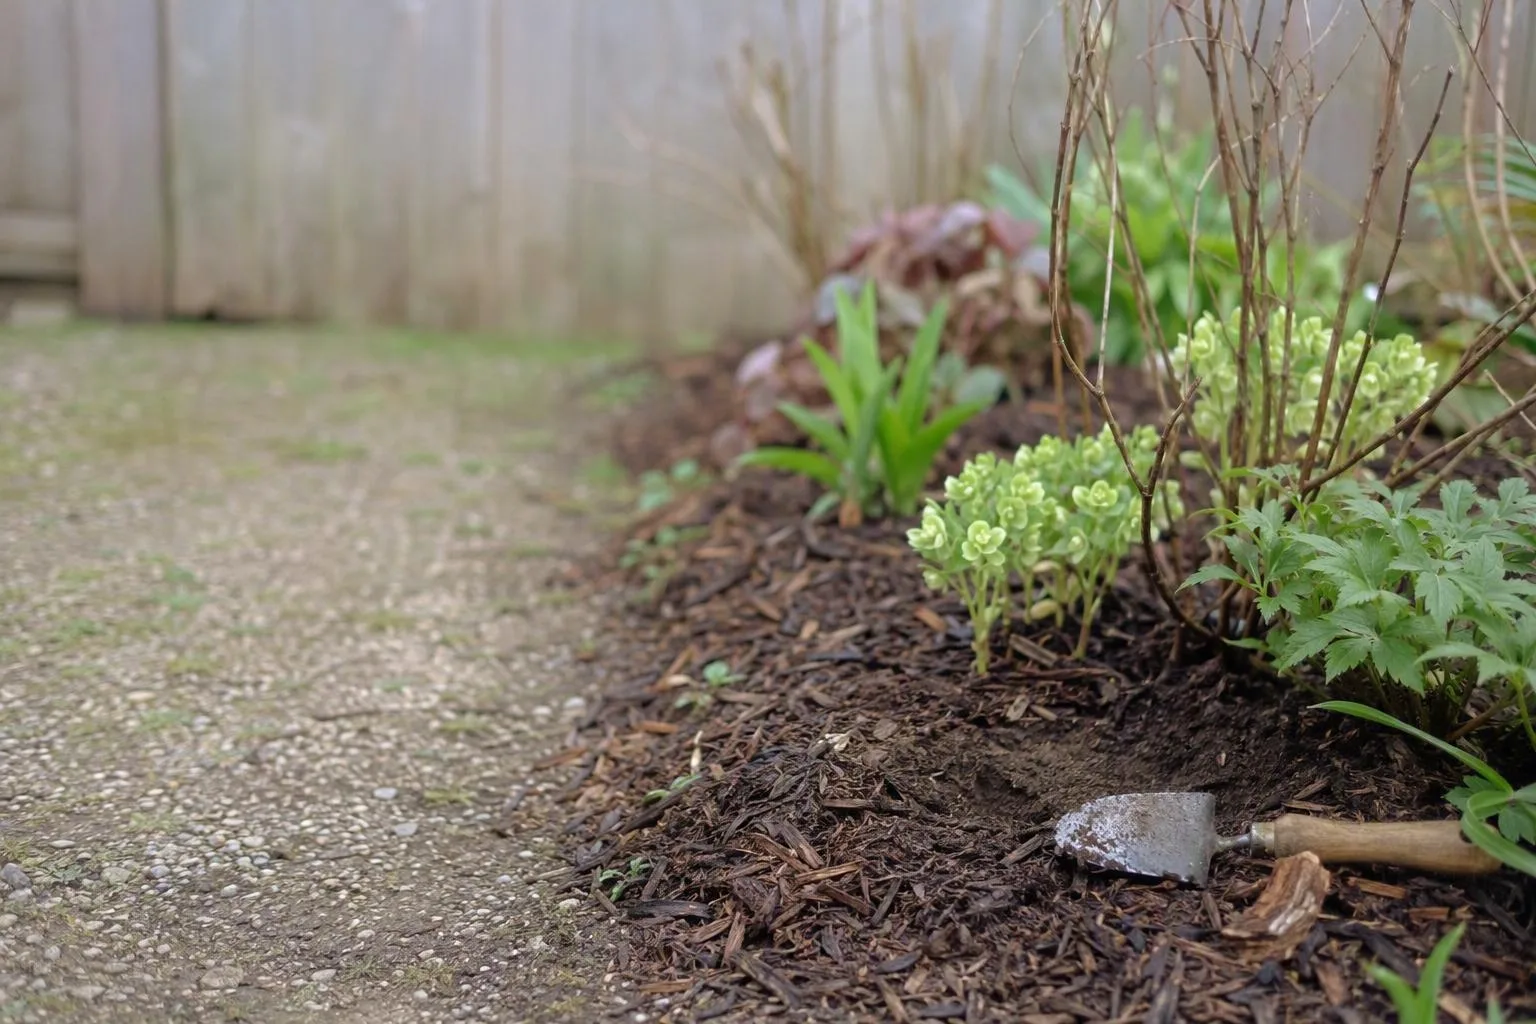
The six mulch problems usually come from one of three mistakes
Before adding more material, diagnose what the soil and plant are telling you. Mulch should slow evaporation, reduce splash, and moderate the soil surface. It should not create a permanently wet collar around a stem, form a sealed roof, or conceal a pest problem you can no longer inspect.
| What you see | Likely mulch-related cause | First correction |
|---|---|---|
| Dark, soft bark at the base | Mulch touching a trunk or crown | Pull it back to expose dry, intact bark |
| Pale young leaves after wood chips were added | High-carbon material mixed into shallow soil | Move chips to the surface and check the root zone |
| Small holes and slime trails under cover | A damp shelter layer is supporting slug activity | Inspect after dusk, then thin or reposition the mulch |
| Seeds sit for weeks in cold, wet soil | Insulating spring mulch is blocking warming | Clear the seed row and expose the soil surface |
| Water runs off a crusted layer | Fine material has compacted or dried into a mat | Lift, loosen, and replace the worst material |
| Weeds appear in a newly mulched bed | Seed-bearing hay, manure, or green waste | Stop spreading it and quarantine the remaining material |
This is the useful distinction between the disadvantages of mulch and the disadvantages of poor mulching. A coarse, airy layer on the soil surface behaves differently from the same material packed into a planting hole. A winter blanket around a dormant perennial may be sensible in a cold zone, while that blanket over a row of spring-sown carrots can hold the soil below the temperature needed for quick emergence.
1. Mulch against stems turns a moisture buffer into a rot zone
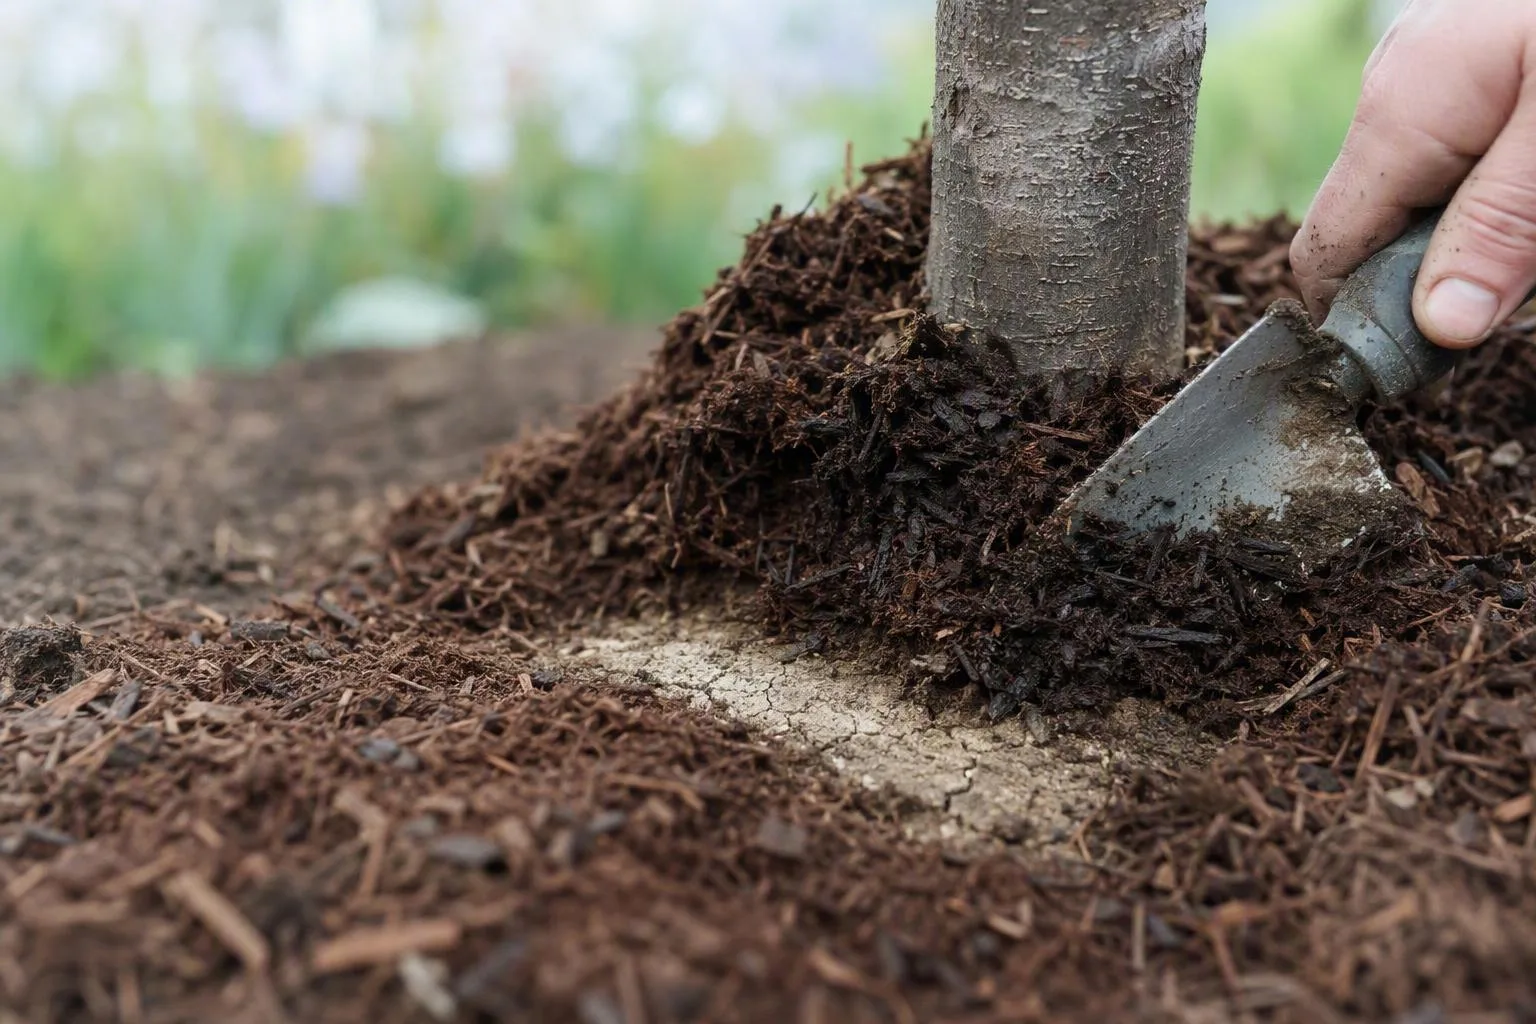
The familiar “mulch volcano” is not just untidy. When bark, chips, or leaves are piled against a woody trunk, the material holds humidity against bark that is meant to dry between wet periods. Air movement is reduced, the outer bark can soften, and small cracks or wounds remain damp. That creates a more favorable setting for decay organisms and for pests that use the protected base as shelter.
For a tree or shrub, leave a visible ring of bare soil around the trunk rather than tapering the material into it. The exact width depends on the plant’s size and the material, but the rule is straightforward: no mulch should rest against the trunk. Around a soft-stemmed vegetable or herbaceous perennial, keep the layer from touching the crown or basal stems. A narrow visible gap is better than a neat-looking collar that stays wet.
Pull mulch back promptly if the bark is darkened, soft, cracked, or sour-smelling material is pressed against it. At a perennial crown, look for tissue that feels soft rather than firm. Basal collapse, a stem that pinches at soil level, and a plant that wilts despite wet surrounding soil point to a more serious problem than surface dryness. Once bark or crown tissue has decayed, adding fresh dry mulch does not repair it. The damaged section has to be exposed, and the plant may need pruning or replacement if its transport tissue has been girdled.
A practical spacing guide is covered in How thick should mulch be around vegetables, shrubs, and trees? The useful part is not memorizing one universal measurement; it is learning to see the trunk flare and crown as living structures that need air.
2. A thick organic layer can steal available nitrogen while it decomposes
“Mulch robs nitrogen” is too blunt to be useful. The real question is where decomposition is happening. Microbes breaking down high-carbon material such as sawdust, very fine wood waste, or fresh straw need nitrogen to build their own cells. If that material is mixed through the upper root zone, some mineral nitrogen can be temporarily held in microbial tissue instead of remaining available to plants.
Material left on the soil surface is a different case. The main microbial activity is concentrated at the mulch-soil boundary, so an established shrub or deep-rooted perennial may continue growing normally beneath a surface layer of wood chips. The risk rises for shallow-rooted annuals, newly transplanted seedlings, and plants whose roots are already confined to a thin topsoil layer. Mixing fresh chips into a planting hole is the version to avoid.
Symptoms need checking rather than guessing. Nitrogen shortage can produce older leaves that turn evenly pale while the plant remains structurally sound. Transplant stress more often follows root disturbance and may include temporary wilting, stalled growth, or lower-leaf damage soon after planting. Compare the pattern with How to tell nitrogen deficiency from ordinary transplant stress before applying feed.
Correction starts with location: move high-carbon material back to the surface and keep it clear of a direct-sown row until seedlings are established. If a soil test, plant pattern, and recent material history all support nitrogen shortage, use a measured nitrogen source according to its label. A rough planning ballpark sometimes used by growers is about 1 pound of actual nitrogen per 1,000 square feet per month during active decomposition, but the useful rate depends on soil reserves, rainfall, crop demand, and mulch depth. Follow the fertilizer instructions rather than treating that figure as a prescription. More nitrogen is not a cure for waterlogged roots or damaged crowns.
3. Wet mulch favors slugs, snails, rodents, and hidden stem damage
Mulch does not manufacture pests. It changes the habitat at the soil surface. A cool, damp layer gives slugs and snails a place to hide during daylight, while loose straw, thick leaf mold, and dense grass clippings can also conceal feeding trails. Coarse wood chips usually leave more air space, but a deep layer beside a vulnerable crop can still provide cover. The correct question is whether the mulch has made inspection difficult and shelter plentiful at the exact plant being damaged.
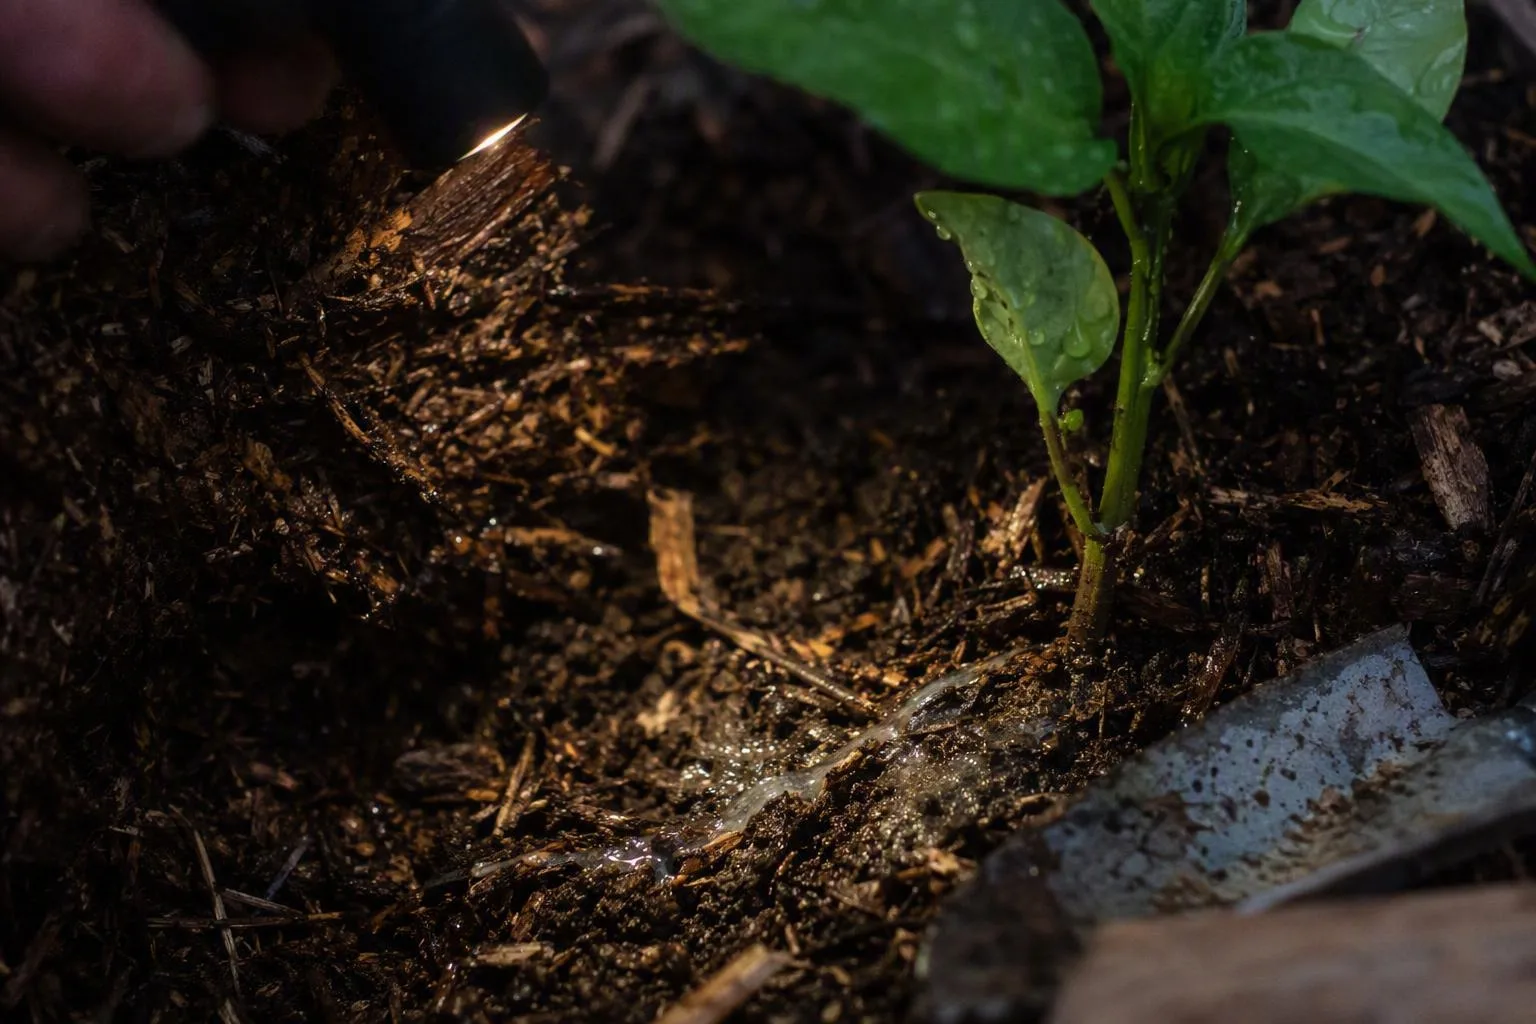
Check under the layer after dusk with a torch. Slug feeding leaves ragged holes and often a glistening trail; flea beetles make many small, round holes in young leaves; caterpillars leave larger irregular damage and may leave frass; vole or mouse damage appears as low gnawing on stems, roots, or fruit. A collapsing crown with wet tissue is a plant-health problem, not proof that a slug caused the original injury.
Start with habitat changes. Thin the layer around seedlings, remove mulch bridges that connect directly to stems, and make enough bare soil available to inspect the crop base. In a bed with persistent damage, shift the mulch away from the row temporarily rather than scattering treatment where you cannot see what is happening. This is especially useful in a small plot, where finding the pest is more informative than treating every square metre.
If you use a slug or rodent product around edible crops, follow the product label and observe its stated harvest restrictions. Don’t assume that a product suitable for ornamentals is automatically suitable for food crops. For a closer material comparison, see Wood chips versus straw mulch for raised vegetable beds; the right choice depends on whether your priority is moisture retention, access for inspection, or a loose surface that does not stay saturated.
4. Spring mulch can keep cold soil cold—and delay establishment
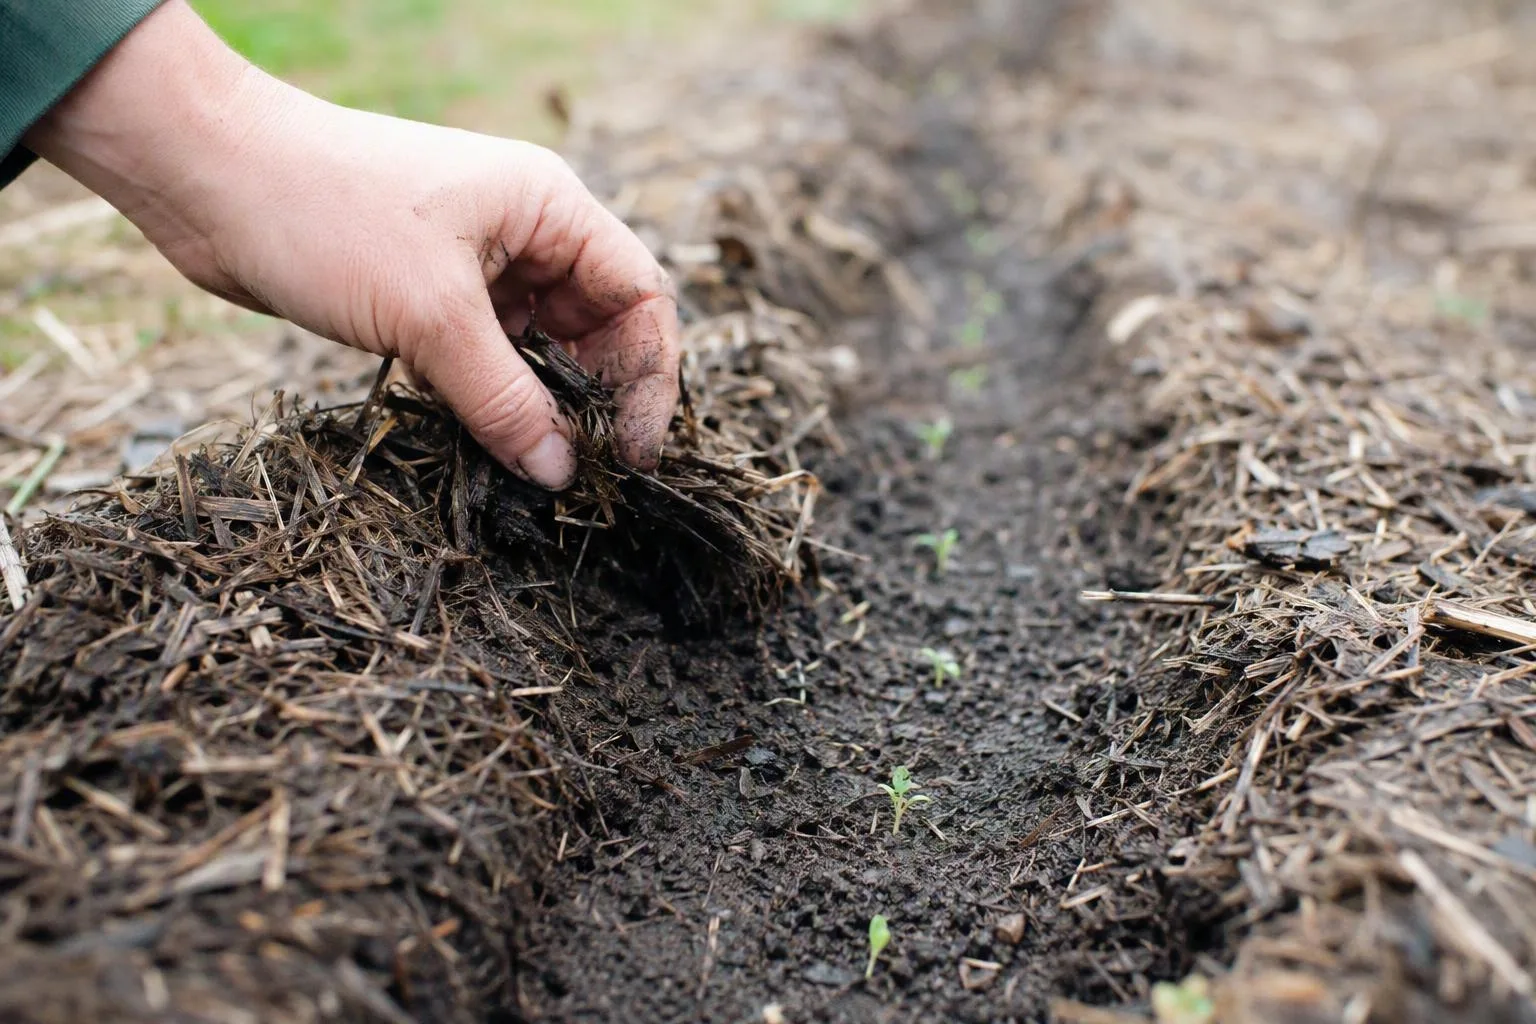
Moisture conservation and soil warming pull in opposite directions during a cool spring. An insulating layer reduces direct contact between sunlight and the soil surface, and it slows the exchange of heat between the air and the ground. Bare soil consistently warms faster than mulched soil in side-by-side comparisons, so the same material that protects a dormant perennial can delay a heat-loving transplant.
Material changes the balance. Dark plastic can absorb solar energy but may overheat the surface or restrict water movement depending on how it is installed. Pale reflective coverings can keep the surface cooler. Straw and leaves insulate strongly when loose and dry; wood chips also buffer temperature changes, particularly as the layer becomes deeper. No color or material works as a universal answer because air temperature, sun exposure, soil moisture, and the crop’s root temperature all matter.
For zones 4–9, use a seasonal decision rather than a calendar date. Leave protective mulch around overwintering perennials and strawberries while freeze-thaw exposure remains a concern; then pull it back as growth resumes and the crown needs airflow. Clear the soil strip over direct-sown seeds. Around tomatoes, peppers, cucumbers, squash, and other warm-season transplants, wait until the bed is no longer cold and saturated before returning a thick layer.
A temperature problem looks like slow germination in otherwise viable seed, roots that make little new growth, or a transplant sitting green but stalled in cold soil. Drought usually shows dry soil beneath the mulch and limp growth that improves after watering. Transplant shock follows root disturbance and often appears soon after planting. Lift the mulch and feel the soil below before blaming the weather.
5. Fine material mats, sheds water, and can root into a hostile crust
Fine mulch fails physically before it fails chemically. Grass clippings laid on too thickly can knit into a wet mat. Shredded leaves can settle into a dense sheet. Very fine bark or poorly aged material may form a crust that is dry on top, airless when wet, and difficult for rainfall to penetrate. A thin fungal web on the surface is not automatically a problem; decomposer fungi commonly bind organic particles while breaking them down. The warning sign is a layer that behaves like felt.
Test it instead of judging from above. Lift the mulch in three places. Feel whether the soil underneath is moist, cool, and crumbly or sour, saturated, and airless. Pour a small amount of water onto the exposed surface. If it darkens and absorbs, the layer is functioning. If water beads, runs sideways, or disappears through cracks while the soil beneath stays dry, loosen or replace the mat. Check for roots growing through the mulch rather than into the soil; those roots can dry suddenly when the layer shifts.
Depth must match particle size. Loose straw can sit deeper than fine shredded leaves because air remains between the stems. Fine leaves and grass clippings need thinner applications, with additional material added only after the first layer has settled and dried. Coarse chips can form an airy surface layer, but piling them deeply against a crown creates the stem problem described earlier. How thick should mulch be around vegetables, shrubs, and trees? is worth treating as a comparison of materials, not a single number to apply everywhere.
To repair a mat, rake it open, remove the wettest slabs, and expose the soil briefly to air. If the material smells sour, is slimy underneath, or repeatedly sheds water after being loosened, replace it rather than trying to disguise it with a fresh top dressing. Mulch is not improved by burying its failure.
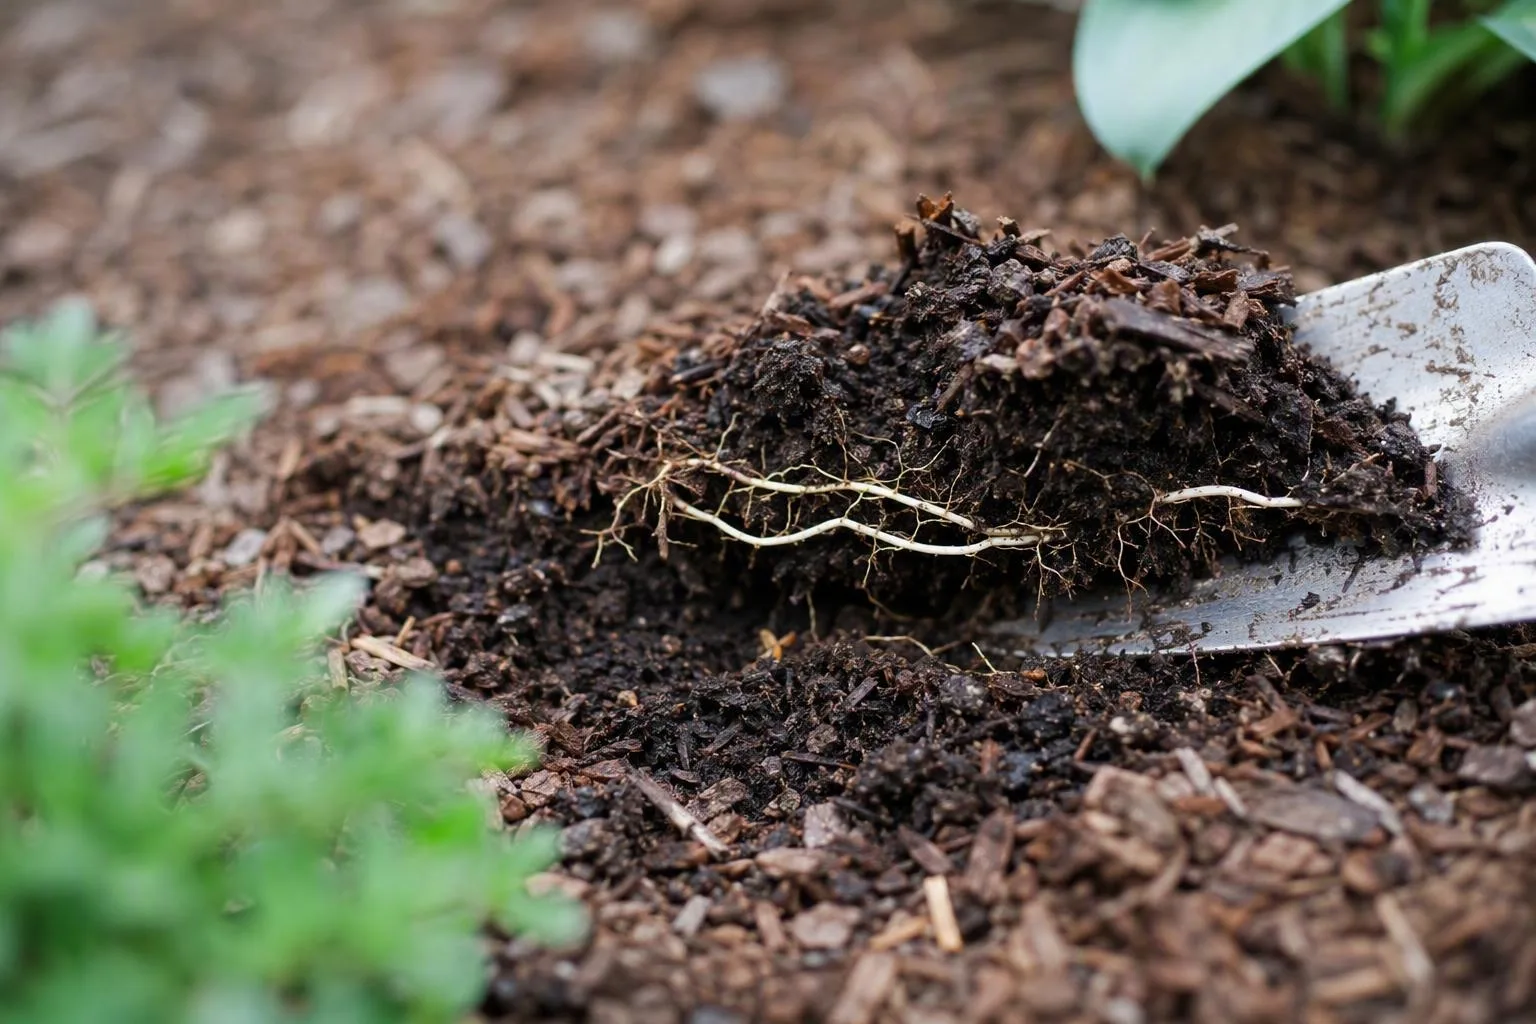
6. The wrong mulch can import weeds, herbicide residues, or persistent contaminants
The safest time to diagnose contaminated mulch is before it reaches the bed. Seed-bearing hay can introduce weeds. Poorly composted manure can carry viable seeds. Green waste may contain fragments of persistent plants, and grass or hay sourced from an unknown supplier may carry herbicide residues that affect broadleaf vegetables, flowers, and legumes.
Some warnings are exaggerated. A weed appearing in mulch does not prove herbicide contamination; it may simply be a seed that arrived in the material. Likewise, a home compost pile reaching a hot phase does not prove that every persistent chemical has been neutralized. Temperature records tell you something about decomposition conditions, but they do not identify what was sprayed on the original crop.
Use a sourcing checklist:
- Ask what the hay, grass, manure, or green waste was treated with and when.
- Avoid unknown hay around edible beds when the supplier cannot answer clearly.
- Inspect chipped material for obvious invasive plant fragments, plastic, and treated timber.
- Quarantine questionable material in a labelled area before spreading it widely.
- Test a small nonessential patch before committing an uncertain input to a whole vegetable bed.
Extension diagnostics for herbicide residues in hay, manure, and compost can help identify the characteristic pattern of distorted new growth, but local product histories matter. Material intended for food-growing areas should be traceable and handled according to local guidance. If young broadleaf plants emerge twisted, cupped, or strap-like across a bed while grasses look normal, stop adding the suspect material and preserve a sample for diagnosis.
A good mulch decision is a seasonal match, not a permanent blanket
Four observations decide what to do next: soil moisture, soil temperature, stem condition, and pest pressure. You don’t need to remove every layer because one leaf is wet. You do need to change the layer when it stops performing its intended job.
- Leave it in place when established plants have clean, dry crowns, the soil is moist rather than saturated, and the layer remains loose enough for water to enter.
- Thin it when the material is compacting, staying wet for long periods, or hiding the crop base from inspection.
- Pull it back from trunks, crowns, seed rows, and heat-loving transplants when those areas need air, warmth, or direct access to light.
- Replace it when the material is persistently matted, smells sour, contains an unknown chemical history, or is carrying more weed pressure than it prevents.
- Remove it entirely when a wet crown, contaminated input, or active pest shelter cannot be corrected by creating a gap.
Established shrubs can usually keep a surface layer if their trunks and root flares remain visible. Newly planted perennials need a lighter, inspectable ring while their crowns settle. Direct-sown vegetables often need bare soil over the seed line until seedlings are established. Overwintered beds may benefit from protection through the coldest period, then need the mulch pulled aside as soil dries and growth begins. When to remove winter mulch from perennials and strawberries? depends on crown growth and weather, not simply the arrival of a particular month.
The useful mulch question is not “Is mulch good or bad?” It is “What job is this layer doing today, and what observation would make me change it?” If the answer is moisture control, keep it loose and off the stems. If the answer is winter insulation, plan the spring pullback. If the material has become a pest shelter, water-shedding mat, or uncertain chemical input, replacing it is cheaper than repeatedly correcting the consequences.
Inspect the current layer before the next watering: lift it, check the soil, examine the crown, and look for feeding signs. That four-minute check tells you whether to leave the mulch, thin it, or remove it before the problem becomes part of the root zone.